Key Takeaways
Creating a DIY terrarium is a fun, budget-friendly way to bring greenery into your home. Here are the key takeaways—from choosing the right container and plants to mastering assembly techniques and comparing curated kits at every price point—to help you craft stunning, low-maintenance terrariums.
- Select the perfect terrarium container: Choose clear glass shapes and sizes based on plant needs, available space, and display style.
- Pick complementary plants for thriving ecosystems: Match succulents, ferns, or air plants with similar light and moisture requirements to ensure long-term health.
- Assemble your terrarium in precise layers: Start with drainage stones, add activated charcoal, then soil, plants, and top-dressings to promote airflow and prevent root rot.
- Maintain ideal humidity with strategic watering: Opt for closed designs to retain moisture or open styles for drier climates, and mist sparingly to keep conditions balanced.
- Infuse personality with decorative accents: Use stones, figurines, moss, or colored sand to reflect your style and elevate each terrarium’s visual appeal.
- Compare curated kits across budgets and skill levels: Evaluate starter, mid-range, and premium terrarium kits to simplify assembly without overspending.
- Enhance kits with personalized customizations: Swap in unique plants and decorative elements to tailor kit-based terrariums to your taste.
With these insights in hand, you’re ready to explore detailed assembly steps, plant recommendations, and our favorite terrarium kits across budgets in the sections that follow.
Introduction
Imagine transforming an ordinary corner of your home into a vibrant oasis without breaking the bank. DIY terrariums offer a unique and budget-friendly solution to bring a splash of greenery into your space, combining creativity with nature's charm.
Crafting your own terrarium is not only an engaging way to personalize your decor, but it also fosters a deeper connection to the plant world. This guide is packed with ten inspiring terrarium ideas and kits designed for every budget, leading you through essential choices—from selecting the ideal container and complementary plants to mastering the art of assembly and customization.
Let’s dive into the world of DIY terrariums and uncover how to create stunning miniature ecosystems that thrive with minimal maintenance, turning your home into a botanical haven.
Terrarium Container Options & Selection Criteria
Whether you're new to indoor gardening or a seasoned plant lover, building a diy terrarium is a creative, budget-friendly way to bring a slice of nature into any space. The right container sets the stage for a thriving mini-ecosystem. Below, explore container types, how to match them to your plants and space, and budget-friendly options.
Understanding terrarium container types
-
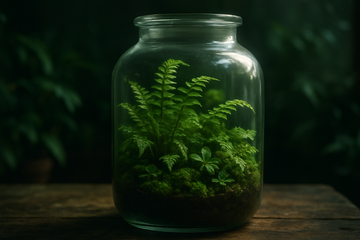
Glass jars (mason jars, apothecary jars)
-
Pros: inexpensive, airtight for closed terrariums, clear walls showcase layers
-
Cons: limited airflow in closed designs, narrow openings can complicate planting and maintenance
-
Fish bowls & bell jars
-
Pros: wide mouth for easy access, dramatic dome shape enhances visual impact
-
Cons: bulky, heavier substrate needed for stability, less suited for hanging
-
Hanging glass orbs
-
Pros: space-saving, modern aesthetic, perfect for air plants or minimal soil setups
-
Cons: shallow depth restricts root growth, fragile construction
-
Repurposed vessels (teapots, lightbulbs, vintage jars)
-
Pros: sustainable, one-of-a-kind character, often free or low cost
-
Cons: variable durability, may require extra cleaning or sealing
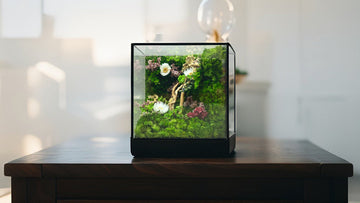
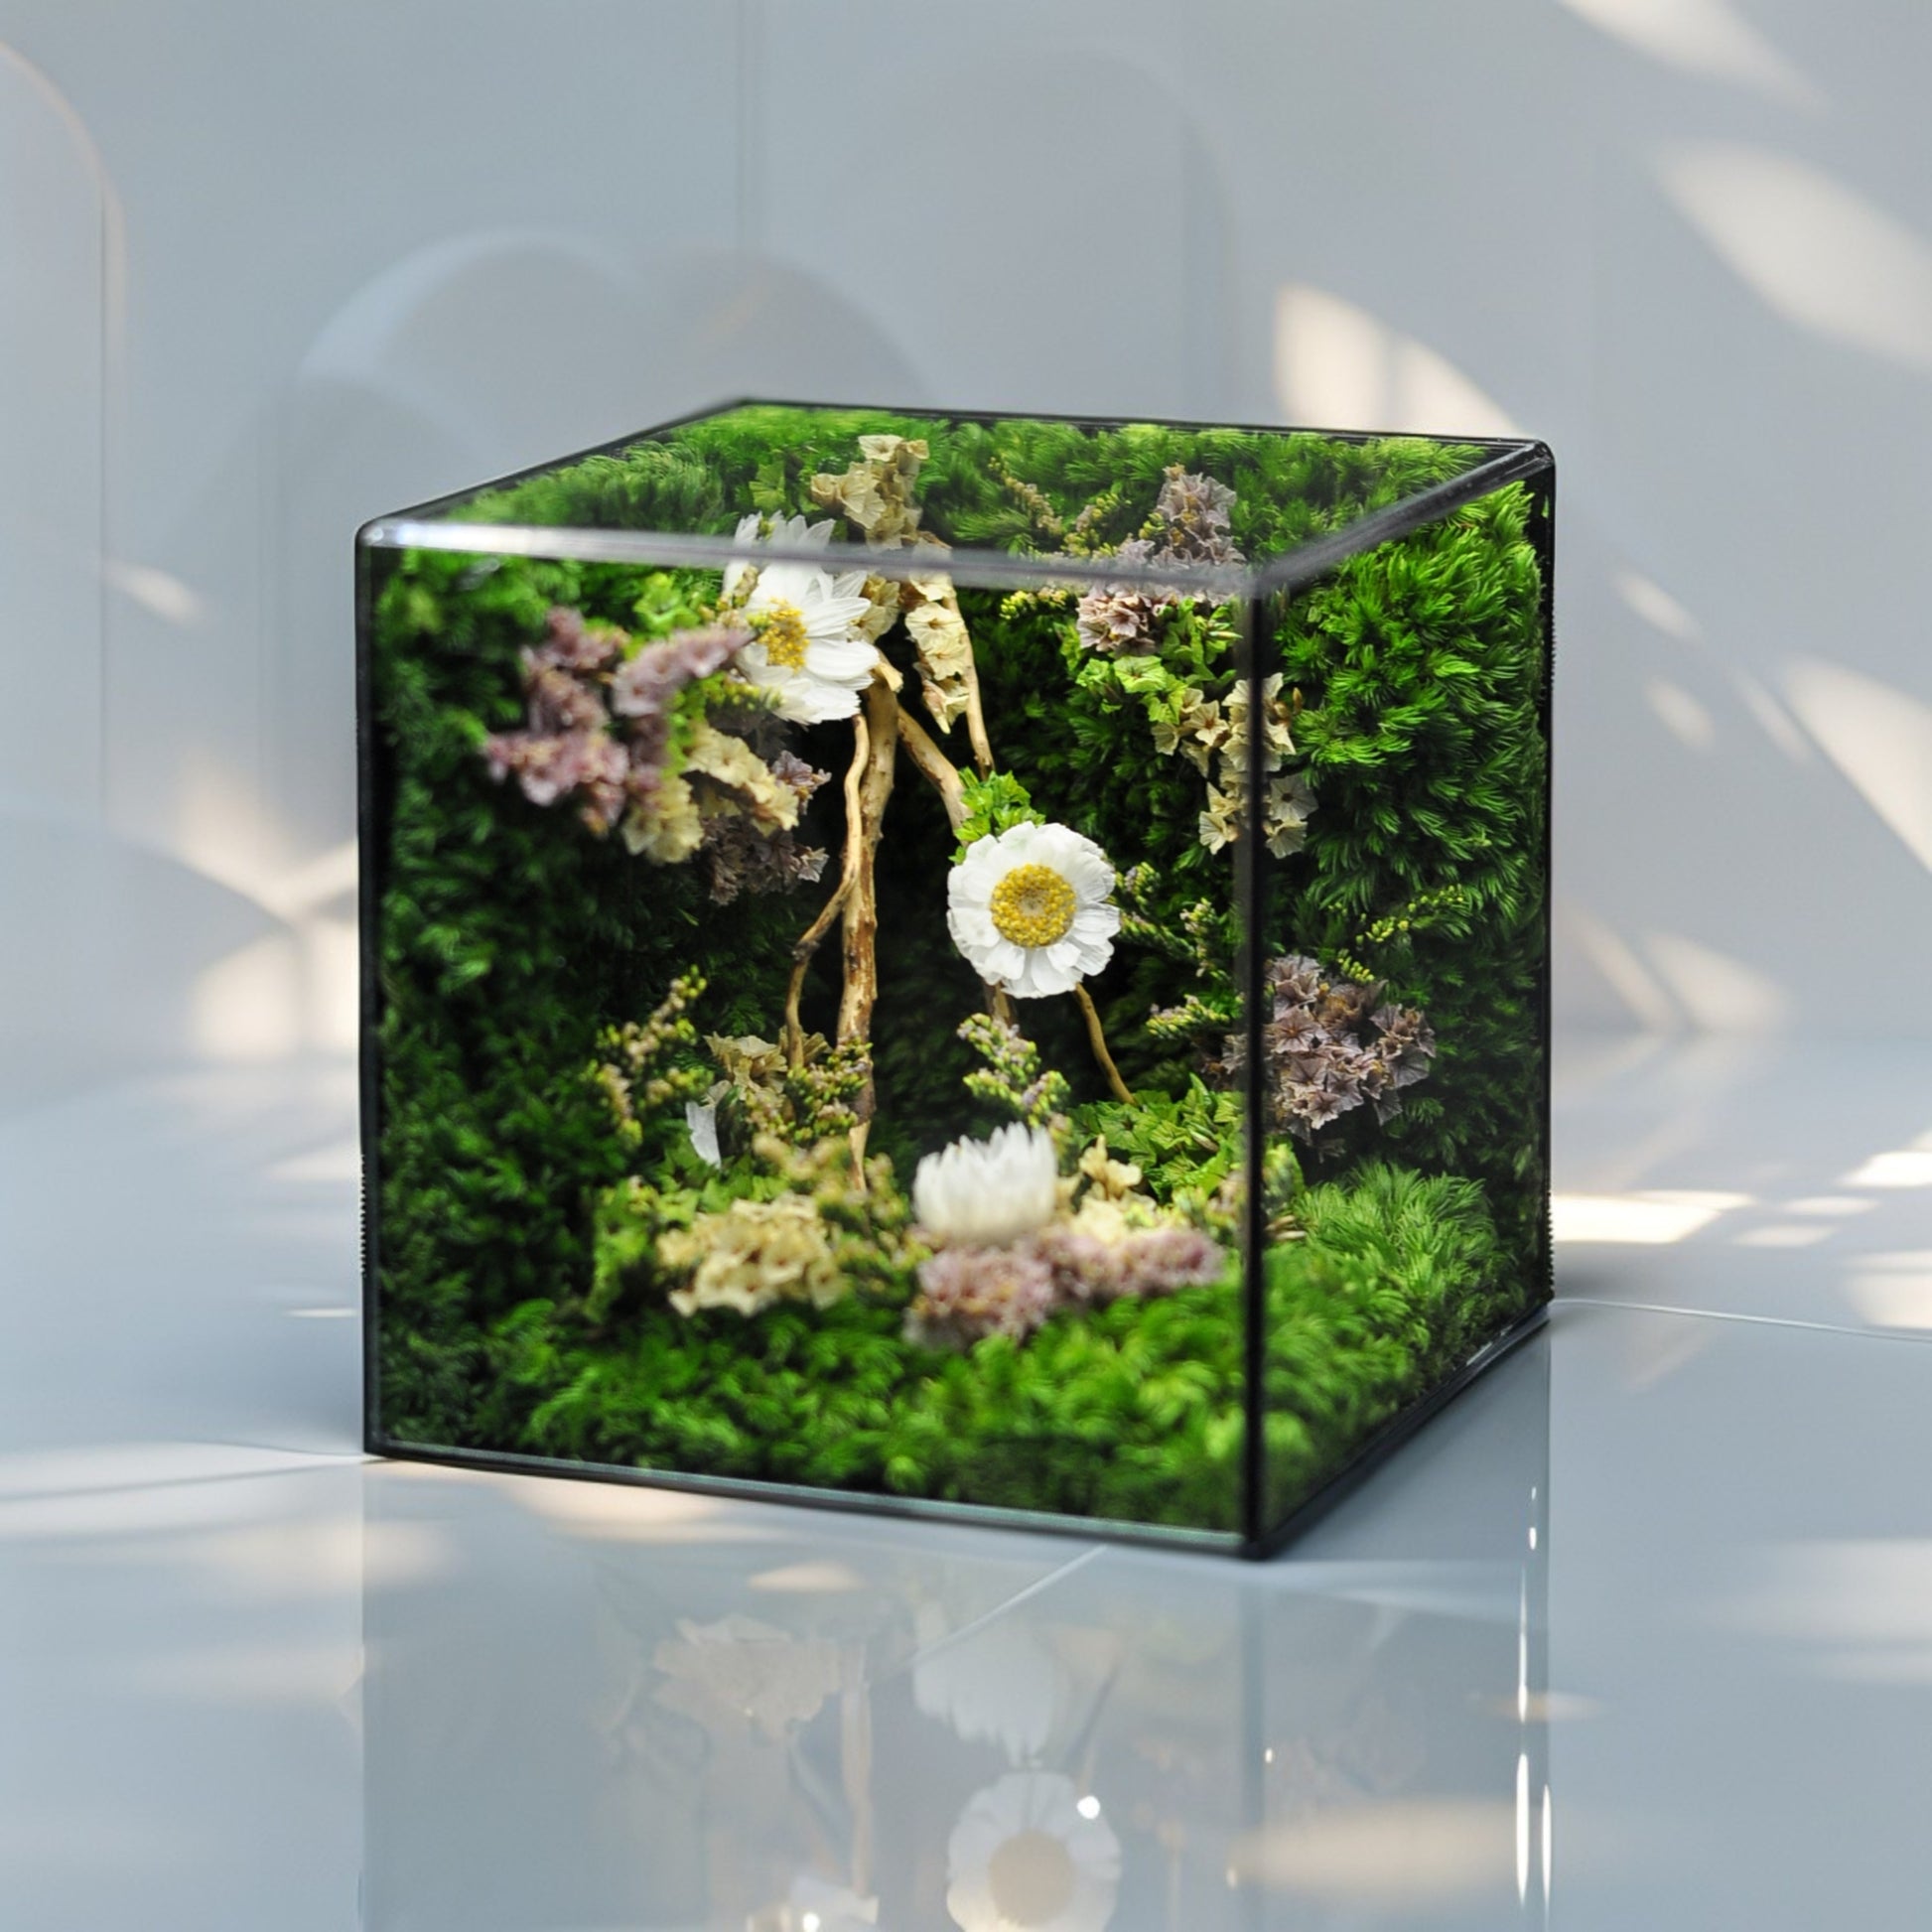
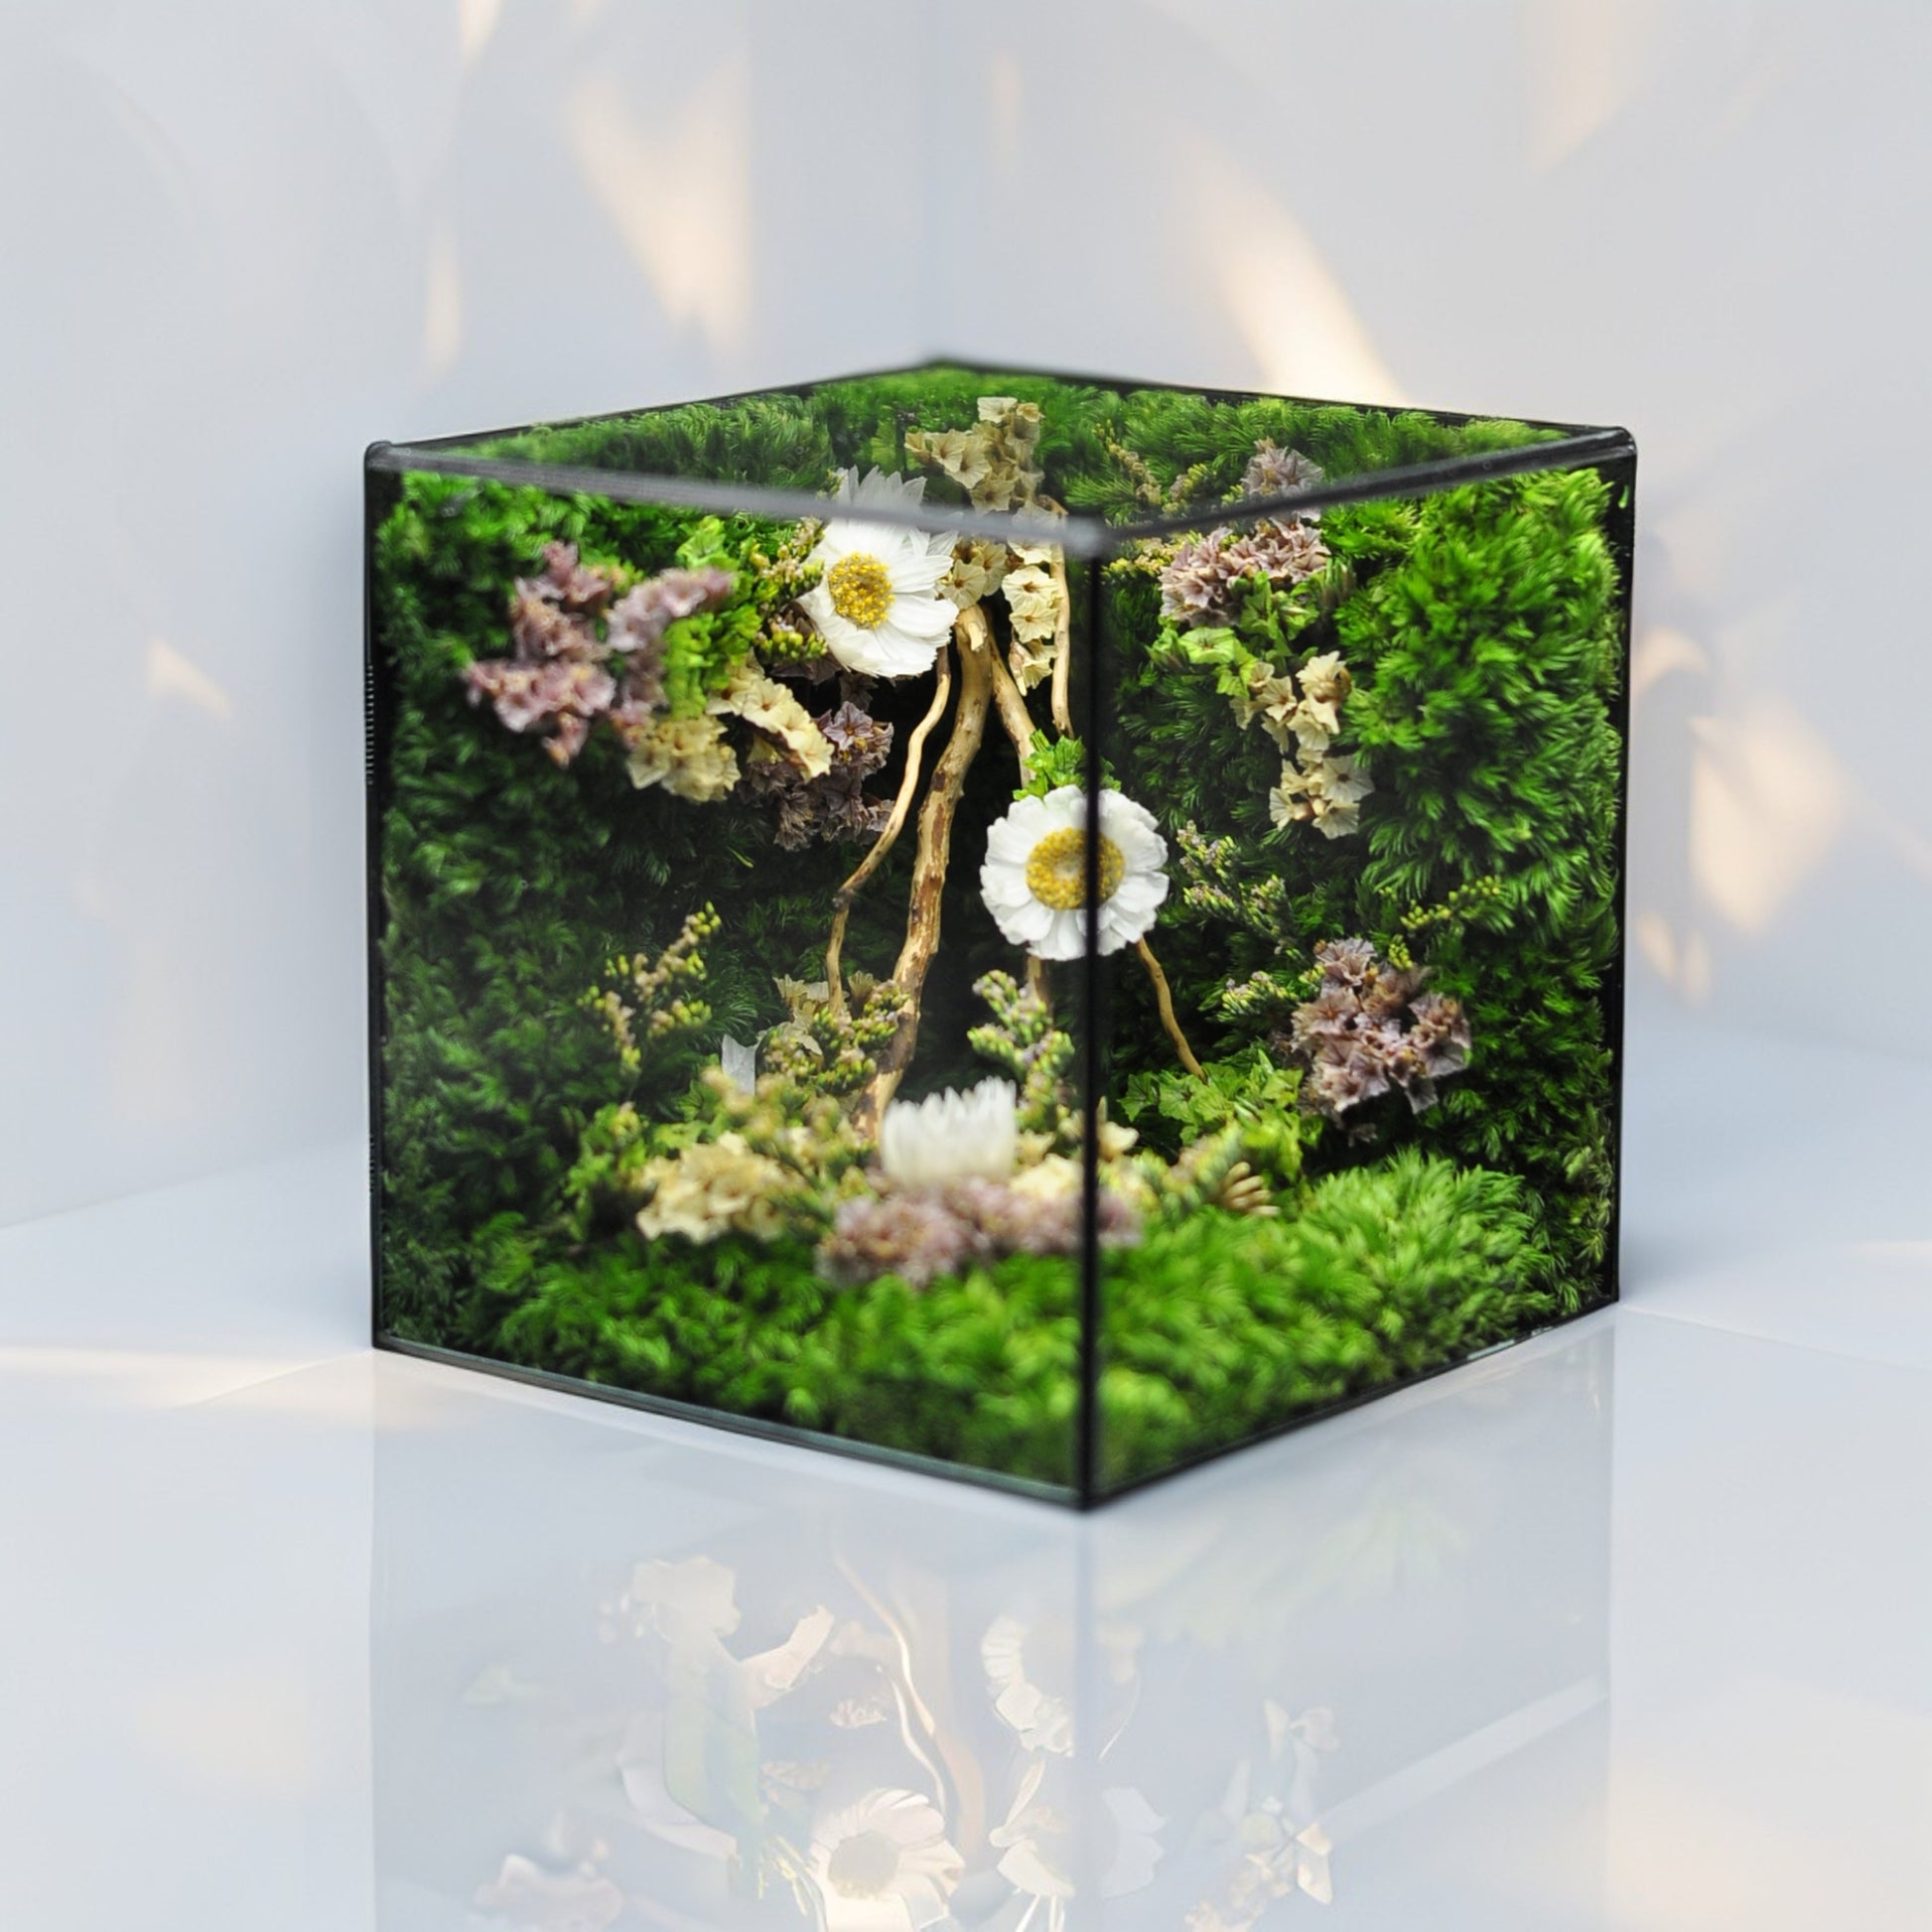
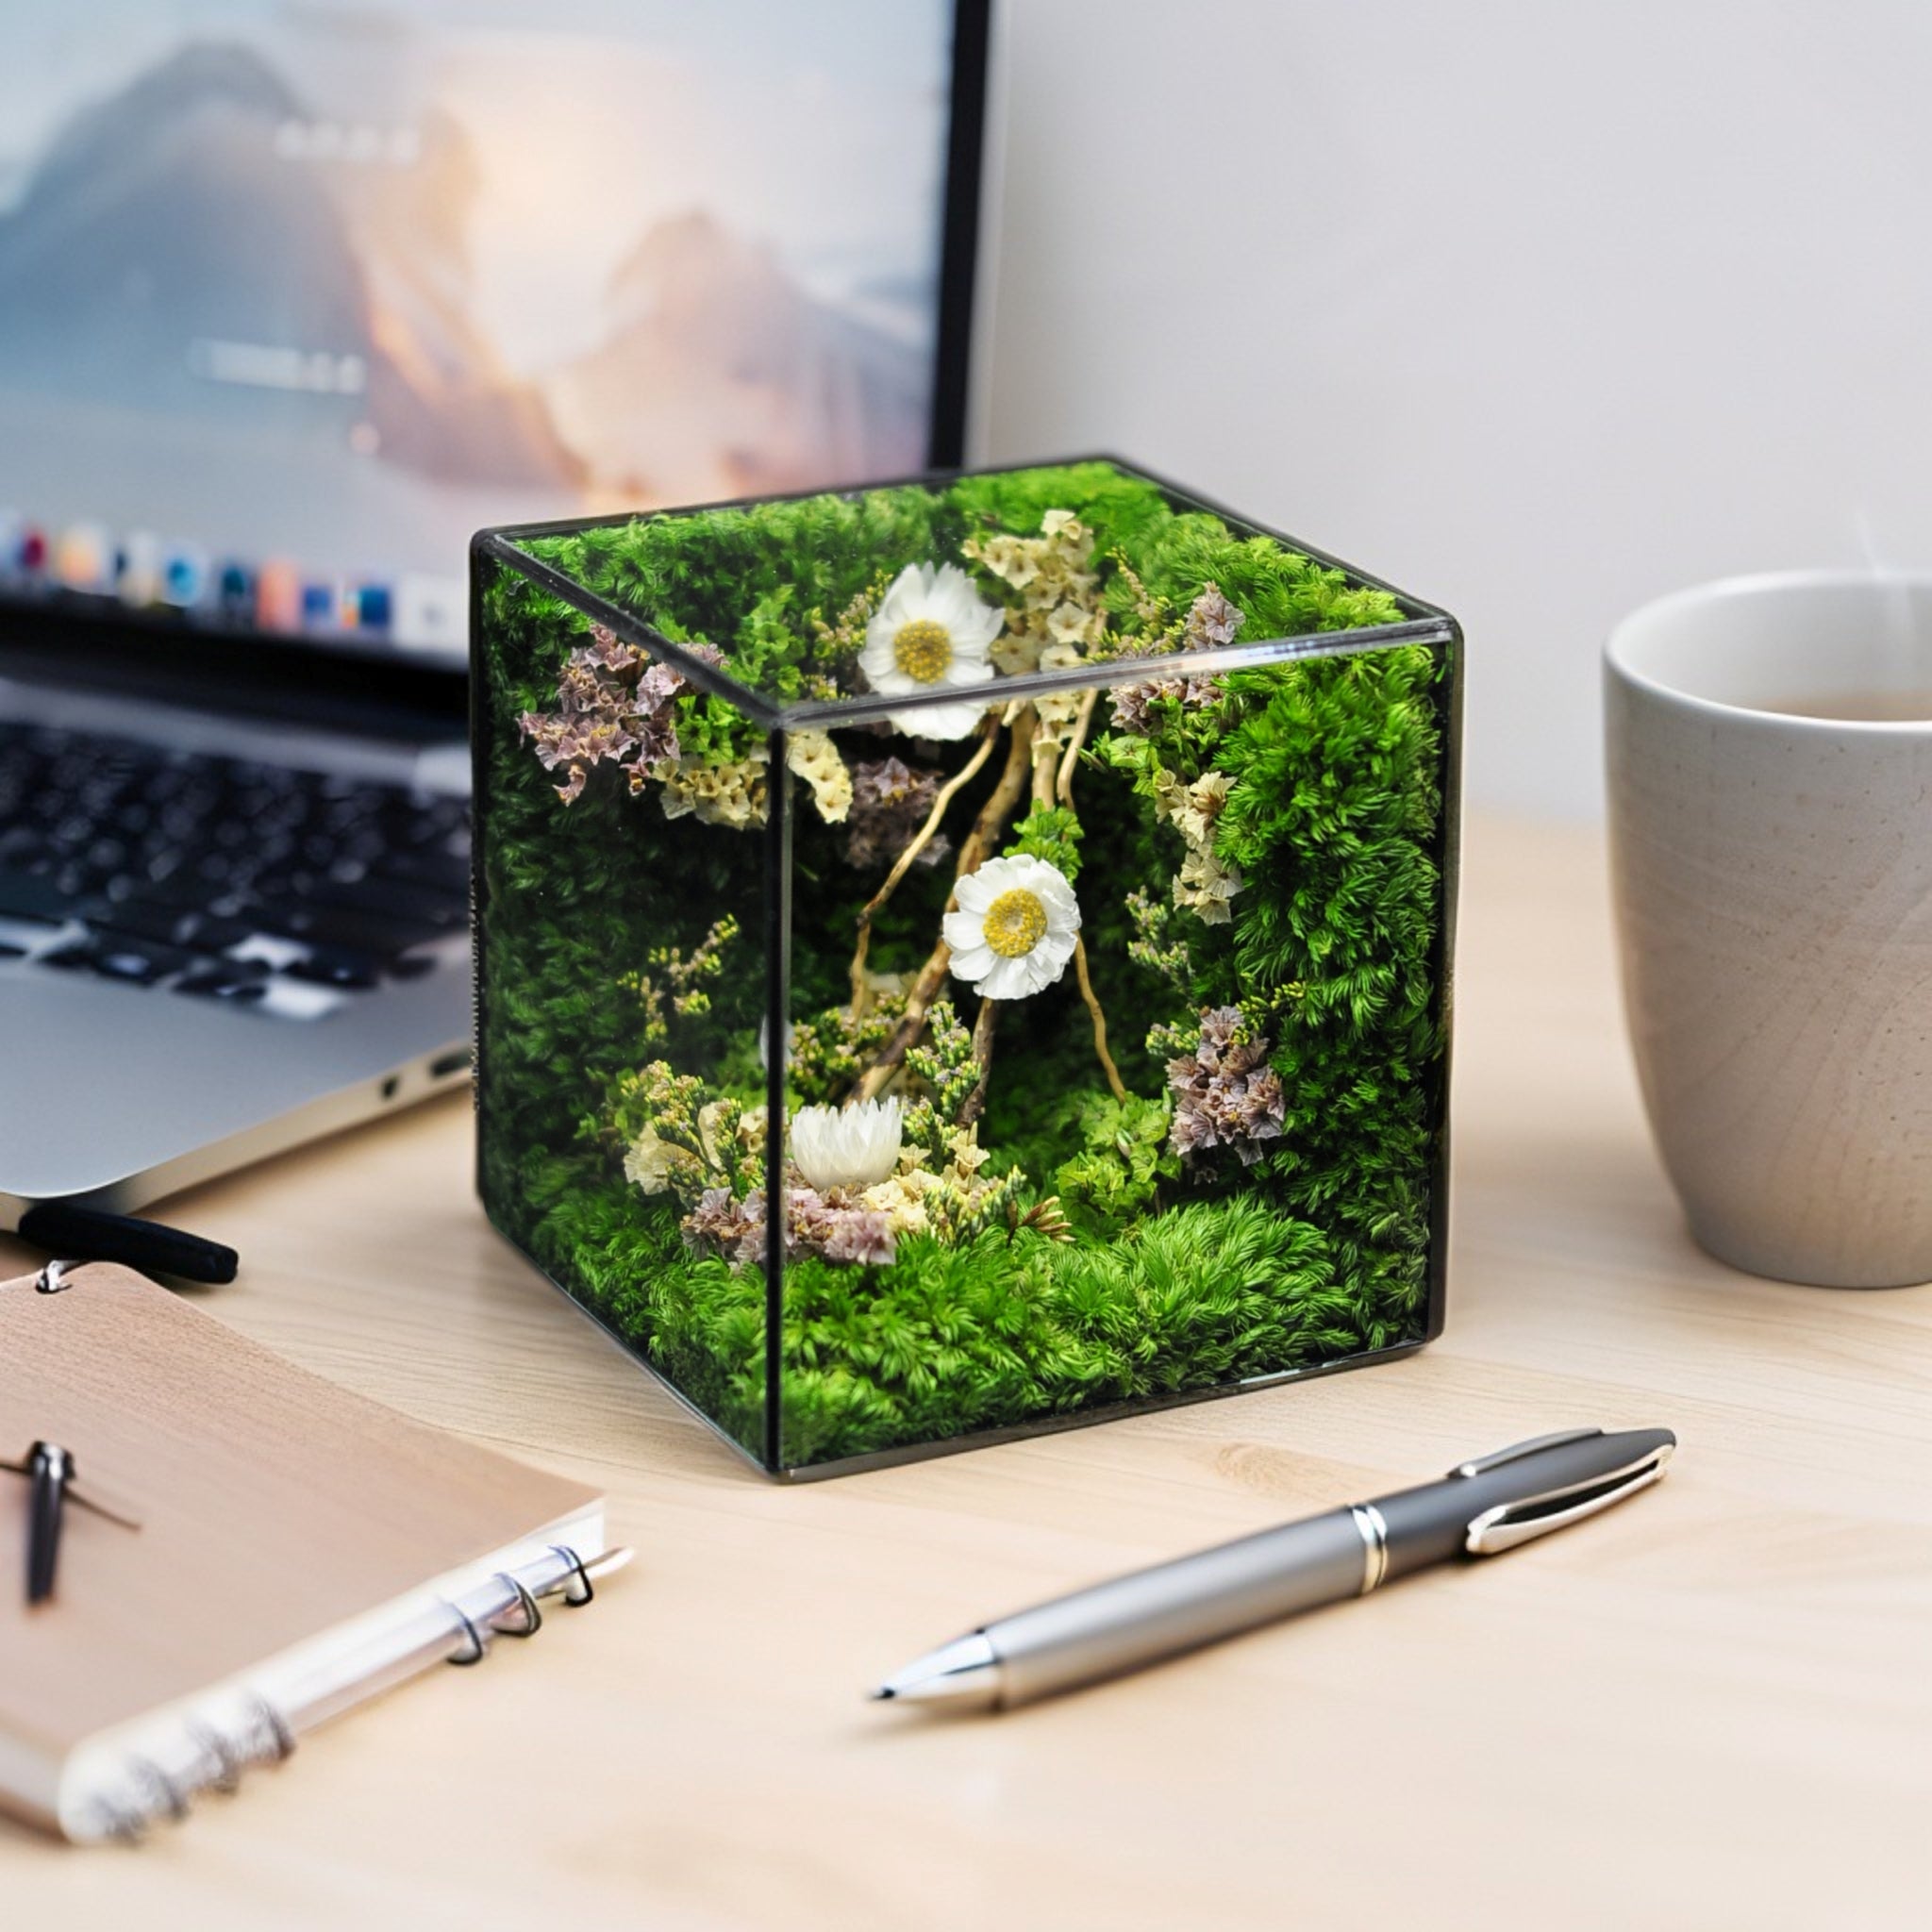
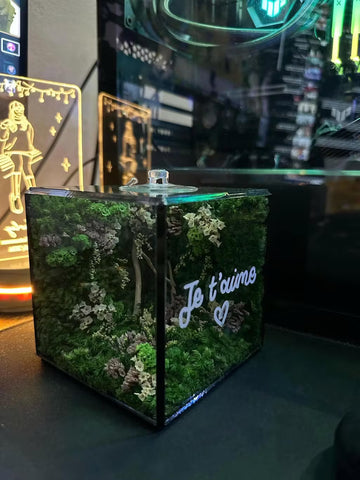
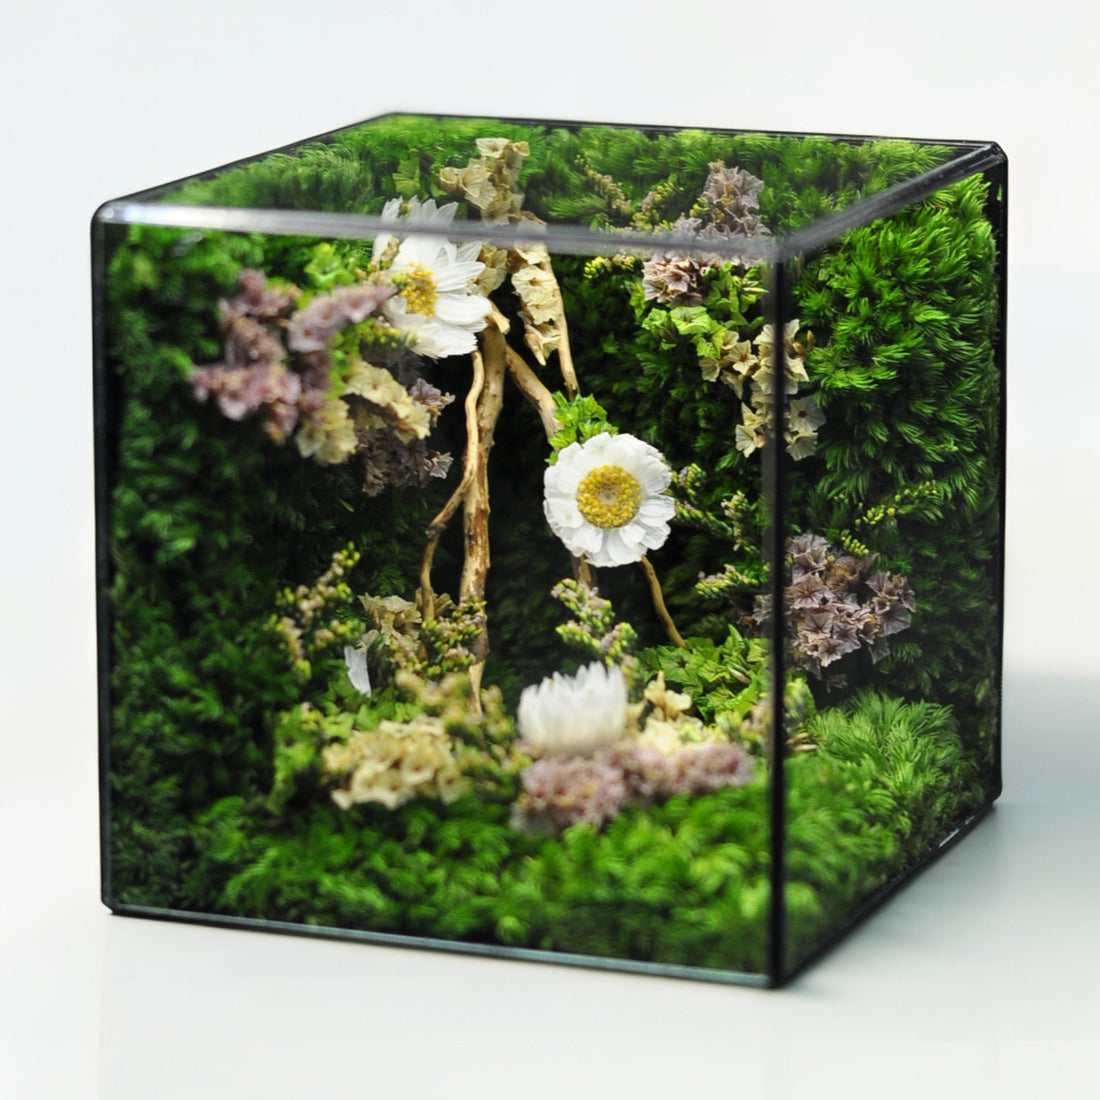
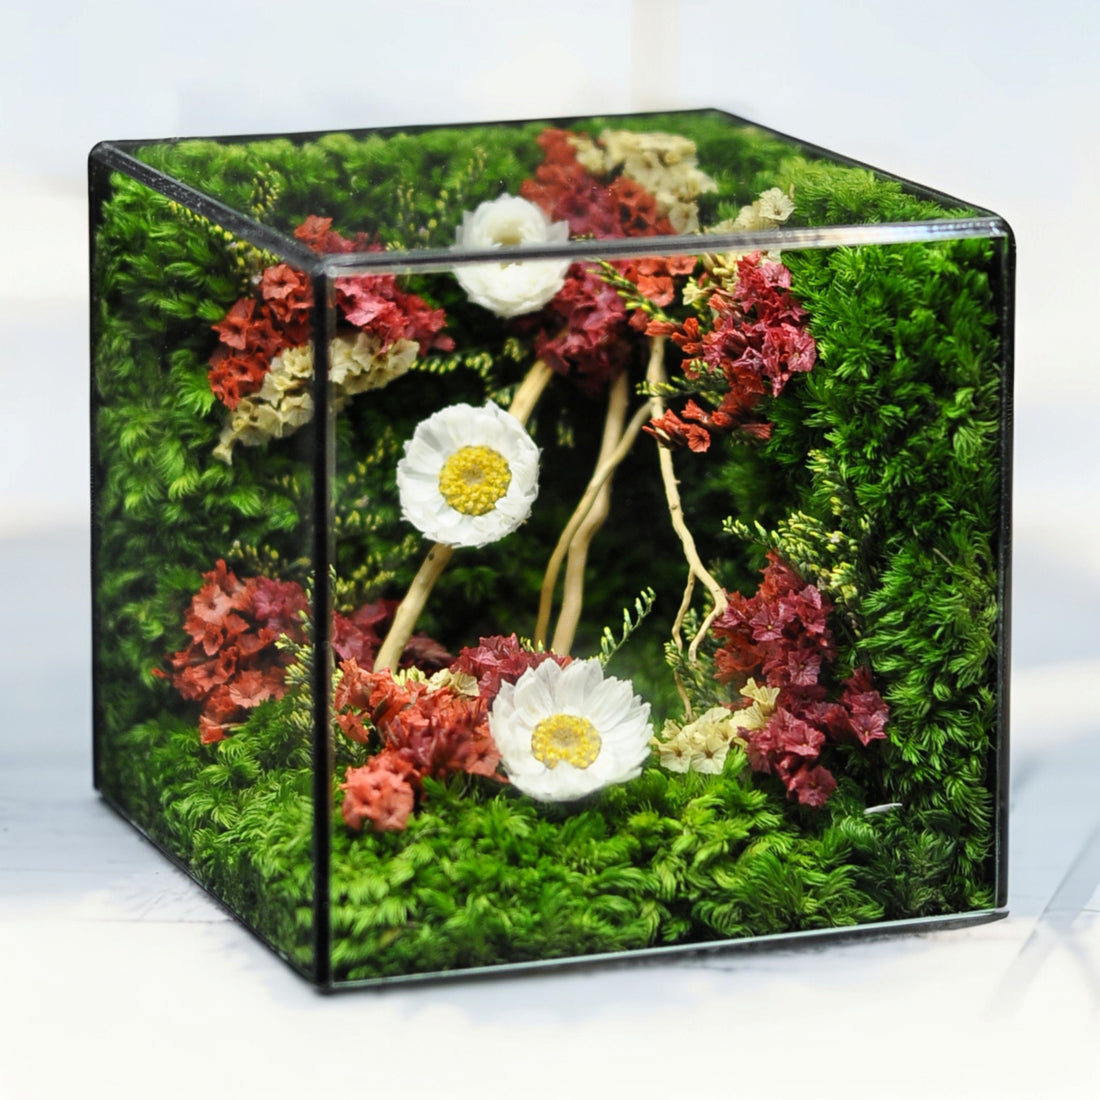
For larger or custom designs, consider small fish tanks or acrylic display boxes. Their straight sides and lids make them ideal for complex DIY succulent terrariums or tropical scenes.
Matching containers to plant needs and display space
-
Closed vs. open design
-
Closed (airtight) suits moisture-loving tropicals (e.g., ferns, Fittonia)
-
Open terrariums favor succulents, cacti, and air plants that need good airflow
-
Size and shape
-
Tall, narrow vessels work well for upright ferns or trailing stems
-
Wide, shallow bowls are perfect for sprawling succulents or layered sand art
-
Location and lighting
-
Small desktop jars fit offices or side tables
-
Hanging orbs brighten windowsills and corner spaces
Budget considerations: repurposed vs. store-bought vessels
-
Repurposed options
-
Thrift-store glassware, old kitchen jars, or discarded lightbulbs—often under \$5
-
Cleaning: wash with warm soapy water, soak in a 10% bleach solution, rinse and air dry
-
Store-bought vessels
-
Craft-store bell jars: \$15–\$30
-
Specialized terrarium kits (glass vessel included): \$20–\$50
Pro tip: dollar-store glass containers, properly cleaned and sealed, can rival pricier options.
Once you’ve selected the perfect container, it’s time to choose plants that will bring your diy terrarium to life.
Ideal Plants & Pairing Recommendations
Best low maintenance plants for terrariums
-
Succulents (Echeveria, Haworthia)
Light: bright, indirect light
Water: minimal, allow soil to dry between waterings -
Air plants (Tillandsia)
Soil: none needed
Water: mist 1–2 times weekly or soak for 20 minutes monthly -
Mosses (sheet moss, cushion moss)
Humidity: thrives in closed systems
Role: ground cover, humidity regulation
Closed vs. open terrariums: plant compatibility
Closed terrariums recreate a rainforest-like microclimate. Choose moisture-loving species:
- Peperomia varieties (Peperomia obtusifolia, Peperomia caperata)
- Fittonia (nerve plant)
- Ferns (button fern, maidenhair fern)
- Sphagnum moss
Avoid succulents and cacti in closed designs—they’re prone to rot in high humidity.
Open terrariums need plants that prefer drier conditions:
- Succulents and cacti
- Air plants
- Small terrestrial orchids
Creating balanced ecosystems: succulents, ferns, air plants
- Mixing zones: use raised soil “islands” for succulents, lower pockets for ferns
- Vertical layers: suspend air plants on driftwood or wire hooks above soil
- Spacing: leave 1–2 inches between plant crowns to prevent overcrowding and ensure airflow
With your plant palette set, let’s assemble your diy terrarium step by step.
Step-by-Step DIY Terrarium Assembly & Layering Process
How to make a terrarium step by step: building from scratch
- Clean and dry your container completely.
- Add a 1–2 inch drainage layer of pebbles or aquarium gravel.
- Sprinkle a ¼–½ inch layer of activated charcoal to keep water fresh and control odors.
- Place a thin sheet of sphagnum moss over the charcoal to prevent soil from filtering down.
- Add potting mix: use cactus/succulent mix for open terrariums or all-purpose mix amended with peat for closed designs.
- Arrange plants with long tweezers or chopsticks: dig small holes, insert root balls, and gently firm the soil around them.
- Top-dress with decorative sand, gravel, or moss; label plant varieties if desired.
Substrate layering: drainage stones, activated charcoal, soil
- Drainage stones: essential to prevent root waterlogging
- Activated charcoal: reduces bacterial growth and odors (RHS recommends charcoal for enclosed environments)
- Sphagnum moss barrier: stops soil from mixing with drainage material
- Potting mix:
- Succulent mix for open terrariums
- Peat-amended mix for closed systems
(Suggest link to extension.org substrate layering tutorial)
Planting and top-dressing techniques
- Use specialized tools (tweezers, chopsticks) to position small plants precisely
- Make planting pits slightly larger than root balls to avoid compaction
- Firm soil gently to support roots while preserving aeration
- Add contrasting textures with colored sand, polished stones, or sheet moss
Addressing common assembly mistakes
- Skipping the charcoal layer → risk of stagnant water and mold
- Overcrowding plants → limited growth and poor airflow
- Using garden soil → compaction, pests, and drainage issues
- Neglecting to clean the container → algae and mold buildup
Pro tip: leave at least 1 inch of headspace below the lid for air circulation in closed terrariums.
Maintenance & Humidity Control
How often to water a DIY terrarium
- Closed terrariums: water sparingly—every 4–6 weeks or when condensation subsides
- Open terrariums: mist foliage weekly or water lightly every 1–2 weeks, adjusting for plant type and ambient humidity
- Signs:
- Dry soil surface or wilting leaves → time to water
- Yellowing leaves → often indicates overwatering
Closed vs. open design: humidity control strategies
- Closed: relies on a natural moisture cycle—occasional lid cracks help prevent mold
- Open: regular misting, pebble trays, or proximity to a humidifier maintain moisture levels
Monitoring plant health and making adjustments
- Inspect weekly for yellowing, wilting, or mold spots
- Rotate your terrarium monthly to ensure even light exposure
- For precision, use a hygrometer in premium kits to track humidity (internal “Terrarium Care 101” guide)
Styling & Decorative Accents
Infusing personality with stones, figurines, moss, colored sand
- River rocks and polished pebbles for miniature pathways
- Mini figurines (fairies, animals) to tell a story
- Sheet moss for vivid green highlights
- Layered colored sand for desert-style terrarium ideas
Terrarium ideas: themes and design inspiration
- Beach: white sand layers, seashells, air plants
- Desert: gravel, succulents, driftwood
- Forest: bark chips, ferns, miniature mushrooms
- Fairy garden: moss, tiny houses, pastel figurines
Seasonal refresh and redecoration tips
- Add tiny pumpkins or gourds for autumn
- Swap in miniature ornaments and red-green moss for holidays
- Prune and rotate plants to maintain a fresh look each season
Best Terrarium Kits Across Budgets
Starter kits for beginners: budget-friendly options
- Back to the Roots Mason Jar Micro-Garden (~\$15) includes pebbles, soil pods, seeds [VERIFY FACT: current pricing]
- Urban Leaf DIY Terrarium Kit (\$12) with glass jar, soil mix, and decorative stones
These kits deliver essentials—vessel, substrate, and seeds or starter plants—perfect for first-timers.
Mid-range kits with diverse plant selections
- Hirt’s Gardens Succulent Terrarium Kit (\$25): five succulent varieties, specialty soil, decorative sand
- The Sill Mini Terrarium Workshop Kit (\$35): glass vessel, activated charcoal, easy-care plants
Benefits: higher-quality containers, diverse plants, and more decorative options.
Premium kits for advanced hobbyists
- Glass Craft Studio Deluxe Terrarium Supply Kit (\$60): handcrafted glass container, professional tools, exotic ferns
- Roots & Wings Complete Terrarium Pro Kit (\$80): digital hygrometer, LED grow light, organic soil blend [VERIFY FACT: kit contents]
Ideal for those seeking robust, low-maintenance ecosystems with expert-level equipment.
DIY terrarium kit cost vs. value comparison
- Budget (\$10–\$20): essential supplies; best for experimentation; limited plant variety
- Mid-range (\$20–\$50): balanced vessel quality and plant diversity; good customization potential
- Premium (\$50+): high-end vessels, specialized tools, exotic species; best long-term value for hobbyists
Customizing & Enhancing Kit Terrariums
Swapping in unique plants and decorative elements
- Trade standard succulents for rare varieties (e.g., Zebra Haworthia)
- Mount air plants on driftwood or moss-covered bark
- Incorporate vintage finds: tiny pinecones, shells, or brass charms
Upgrading substrate and containers for longevity
- Swap generic soil for orchid bark, cactus mix, or a peat-vermiculite blend
- Add an extra charcoal layer or thicker sphagnum moss sheet for improved filtration
- Transfer to larger or artisanal vessels to accommodate plant growth
Expert tips for customizing kits
- Install a mini LED grow light for low-light rooms
- Use a digital hygrometer to fine-tune humidity levels
- Pre-layer colored sand patterns before adding soil for artistic flair
Troubleshooting Common Terrarium Problems
Dealing with mold and algae growth
- Ensure a proper drainage layer and activated charcoal filter
- Avoid overwatering; siphon out excess water immediately
- Increase ventilation by removing the lid for a few hours daily
- According to the Royal Horticultural Society, activated charcoal reduces microbial growth
Addressing wilting or rotting plants
- Identify root rot: mushy stems, blackened roots
- Trim affected roots and foliage; repot healthy parts in fresh, dry substrate
- Adjust watering frequency—allow the top layer of soil to dry completely
Pest prevention and control
- Introduce beneficial springtails or isopods to consume mold and decaying matter
- Apply neem oil or insecticidal soap sparingly on open terrariums
- Quarantine new plants for 1–2 weeks before introducing them to your terrarium
With these comprehensive tips, your diy terrarium will thrive, delight, and inspire—no matter your budget or experience level. Enjoy your personal window into nature's wonders!
Conclusion
Creating a DIY terrarium is a rewarding endeavor that harmonizes creativity with botanical knowledge. As this article outlined, selecting the right container is crucial—not only does it define the aesthetic of your mini-ecosystem, but it also impacts the health of your chosen plants. Understanding the compatibility of plants with closed and open designs, alongside practical considerations such as humidity control and appropriate substrate layering, sets the foundation for a thriving indoor garden.
By following the steps detailed for assembly and maintenance, from incorporating effective drainage layers to choosing diverse plant varieties, you can cultivate a self-sustaining terrarium that reflects your unique style. As you embark on this journey, consider how your terrarium can evolve—experiment with seasonal decorations, swap plants, or expand to a larger vessel. Ultimately, the potential for creativity and learning in your terrarium project mirrors the vibrant ecosystems found in nature, providing an ongoing source of enjoyment and inspiration.
Frequently Asked Questions (FAQ)
Q: How do you make a terrarium step by step?
A: Clean and dry the container, add a 1–2 inch drainage layer of pebbles, then ¼–½ inch of activated charcoal, cover with a sheet of sphagnum moss, add potting mix (cactus mix for open or peat-amended for closed), arrange plants with tweezers or chopsticks, and finish by top-dressing with decorative sand, gravel, or moss.
Q: What are the best plants for a closed terrarium?
A: Choose moisture-loving species such as Peperomia obtusifolia and P. caperata, Fittonia (nerve plant), ferns like button fern and maidenhair fern, and sphagnum moss.
Q: How often should you water a DIY terrarium?
A: For closed terrariums, water sparingly every 4–6 weeks or when condensation subsides. For open terrariums, mist foliage weekly or water lightly every 1–2 weeks, adjusting for plant type and ambient humidity. Water when the soil surface is dry or leaves wilt; yellowing leaves often indicate overwatering.
Q: What substrate layers are necessary for a DIY terrarium?
A: Include a drainage layer of stones or gravel, a layer of activated charcoal to control odors and bacteria, a sphagnum moss barrier to keep soil from filtering down, and a suitable potting mix (succulent mix for open or peat-amended mix for closed).
Q: What are the best low-maintenance plants for terrariums?
A: Succulents like Echeveria and Haworthia (bright, indirect light; minimal watering), air plants (mist 1–2 times weekly or soak monthly), and mosses (thrive in closed systems and help regulate humidity).
Q: What factors should I consider when choosing a terrarium container?
A: Decide between closed (for moisture-loving tropicals) and open designs (for succulents, cacti, air plants), choose a size and shape that suits your plants (tall narrow for upright stems, wide shallow for sprawling or layered designs), and match the container to your display spot and light availability (desktop jars for small spaces, hanging orbs for windows).
Q: What common mistakes should you avoid when assembling a terrarium?
A: Don’t skip the activated charcoal layer, avoid overcrowding plants, never use garden soil, always clean and dry your container thoroughly, and leave at least 1 inch of headspace below the lid for air circulation in closed designs.
Q: What budget-friendly container options are there for DIY terrariums?
A: Repurposed vessels—thrift-store glassware, old kitchen jars, or discarded lightbulbs—often cost under $5 after cleaning (wash, bleach soak, rinse, air dry); dollar-store glass containers can rival pricier options; craft-store bell jars run $15–$30, and specialized terrarium kit vessels range $20–$50.